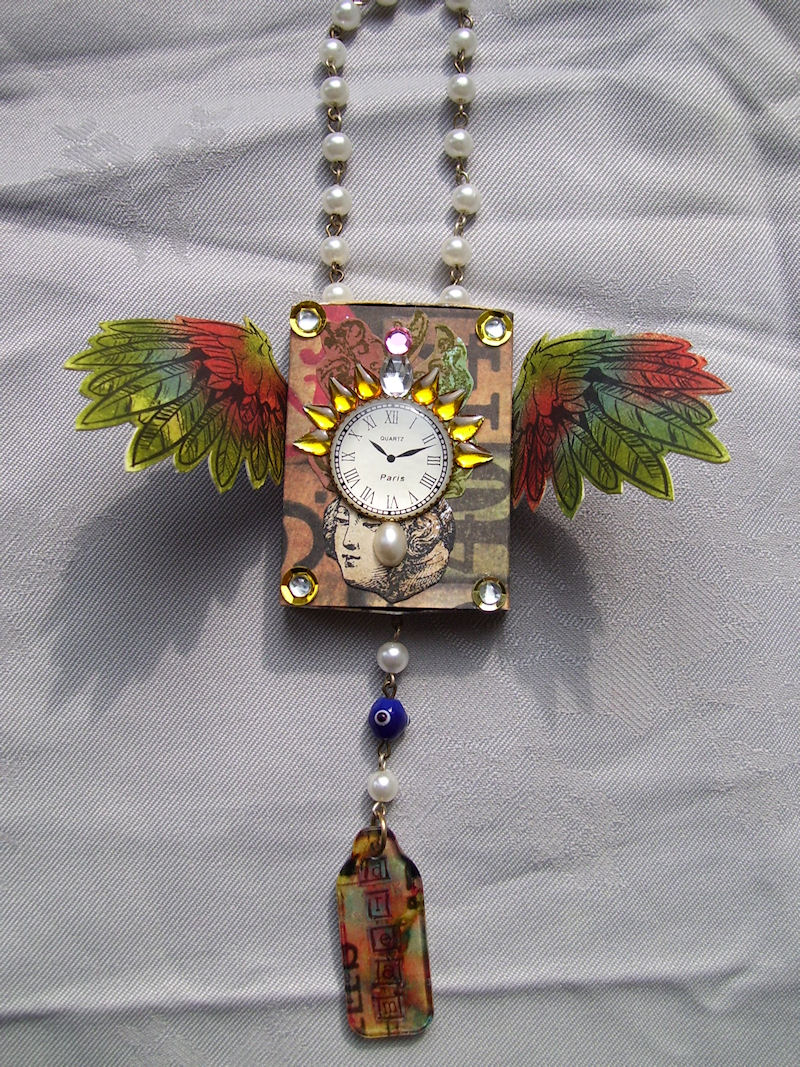
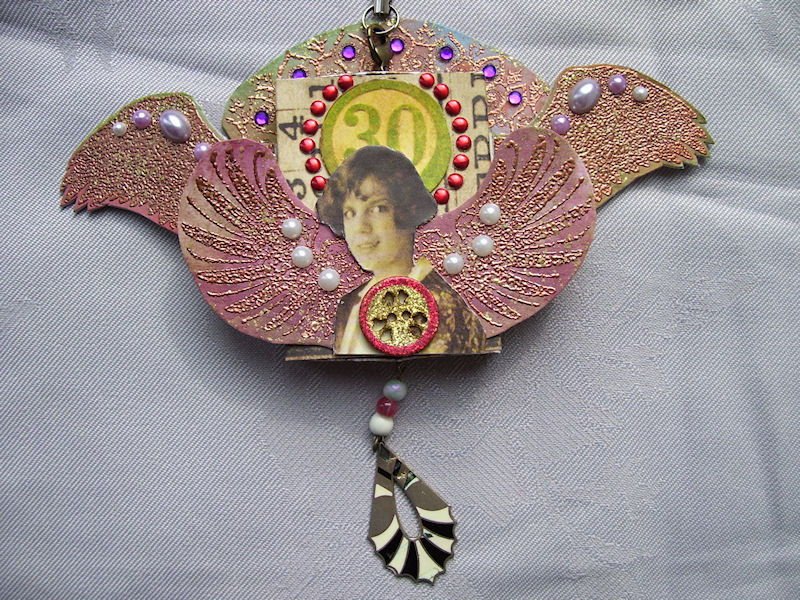
This is for Craft Stamper Take it, Make it challenge two and involved tearing and ripping.I decided not to make a card although I can still can because there's still plenty of time and have 2 important things to be completed before this months ends. I feel so energetic right now like a Roborovski hamster. I didn't know Craft Stamper had a challenge going until I went on their site, brought a copy of June issue of their magazine. Used to buy a lot of magazines in the past and was nervous of submitted a card when I did it was gone and none of my ATCs submitted were publish the ATCs swap is gone as well blame this on high cost of postage.
I had some ideas in my head and sketched out a few drawings in my sketchbook mainly to put them to rest so I won't have to keep thinking about them.
 I used Paper Artsy, Ink and Dog Mystery Plate as it came with house like stamp and perfect for making small matchbox shrines. The matchbox template is from Mirkwood designs and decades old, the box itself is made out of Idea-ology Paper Stash of Lost and Found. With all of my designs I don't know how it will turn out like until the object is finished because make it up as I go along.
Paper scraps coloured in Distress Inks/Stains or mixture of both were used for triangles and other pieces. House, labels and other parts were stamped in TLC Violet ink and Staz-on Jet Black. Other stamps used are Stamping bella, Crafty Individuals. I found the if edges look better if they were embossed or outline using a sharpie. Stampendeous Frantage Aged gold embossing powder gives a dynamic texture when used as gilding as the powder has mixture of coarse and fine grains. I wasn't sure to add to central area whether to use stamped image stuck with foams pads, charms or 3D embellishment.
.jpg) As you can see here I used charmed made from stamping bird cage from Paper Artsy Hot pick range HP1004EZ on to clear shrink plastic. Archival ink work best but stamping takes some skill.
As you can see here I used charmed made from stamping bird cage from Paper Artsy Hot pick range HP1004EZ on to clear shrink plastic. Archival ink work best but stamping takes some skill.
I added from cross screw heads from Prima marketing- Junkyard finding these are yard I think are suited for scrapbooking or altered arts assemblage. This when jewellery making wire works comes in very useful for attaching metal embellishments which are Route 52, 7 Gypsies and others. As final touch I added a chitchat the whole thing is intended to be hung. This is the third matchbox shrine I've created and managed to acquire 2 of the configuration shadow boxes. Something to try out in the future.
I had some ideas in my head and sketched out a few drawings in my sketchbook mainly to put them to rest so I won't have to keep thinking about them.

Paper scraps coloured in Distress Inks/Stains or mixture of both were used for triangles and other pieces. House, labels and other parts were stamped in TLC Violet ink and Staz-on Jet Black. Other stamps used are Stamping bella, Crafty Individuals. I found the if edges look better if they were embossed or outline using a sharpie. Stampendeous Frantage Aged gold embossing powder gives a dynamic texture when used as gilding as the powder has mixture of coarse and fine grains. I wasn't sure to add to central area whether to use stamped image stuck with foams pads, charms or 3D embellishment.
.jpg)
I added from cross screw heads from Prima marketing- Junkyard finding these are yard I think are suited for scrapbooking or altered arts assemblage. This when jewellery making wire works comes in very useful for attaching metal embellishments which are Route 52, 7 Gypsies and others. As final touch I added a chitchat the whole thing is intended to be hung. This is the third matchbox shrine I've created and managed to acquire 2 of the configuration shadow boxes. Something to try out in the future.